You can make a difference in the Apple Support Community!

When you sign up with your Apple Account, you can provide valuable feedback to other community members by upvoting helpful replies and User Tips.

Looks like no one’s replied in a while. To start the conversation again, simply ask a new question.

Star Wars Effect

Hello

i want to take the moment to thank everyone who really helping me and helping us to be better in apple motion


Thanks

i'm looking to create a star wars effect

which as showing in the pictures below


I created it using the emitter, and motion path

but it still doesn't look right, as you can tell from the pictures. The stars just appear as circular, white shapes. However, in the emitter controls, I set it to a rectangle shape with a tiled fill,

which isn't producing the desired effect. When I try to use a random fill, it doesn't achieve the effect I'm looking for; it misses the way stars should spread out into lines.

What I need is for the stars to be distributed randomly in the background. As it stands, they seem to be aligned in columns and rows.

I'm wondering if there's a better method to achieve this effect.


Thank you.


MacBook Pro 16″, macOS 14.2

Posted on Feb 4, 2024 9:11 AM

Reply
7 replies

Feb 4, 2024 1:53 PM in response to seleemzid

I'm not exactly sure what you're going for. The last image looks more like a replicator than an emitter. In order to get a "depth of field" effect, you need to convert to a 3D project and use a Camera with the View Angle set around 120.


However, if something like this is acceptable:
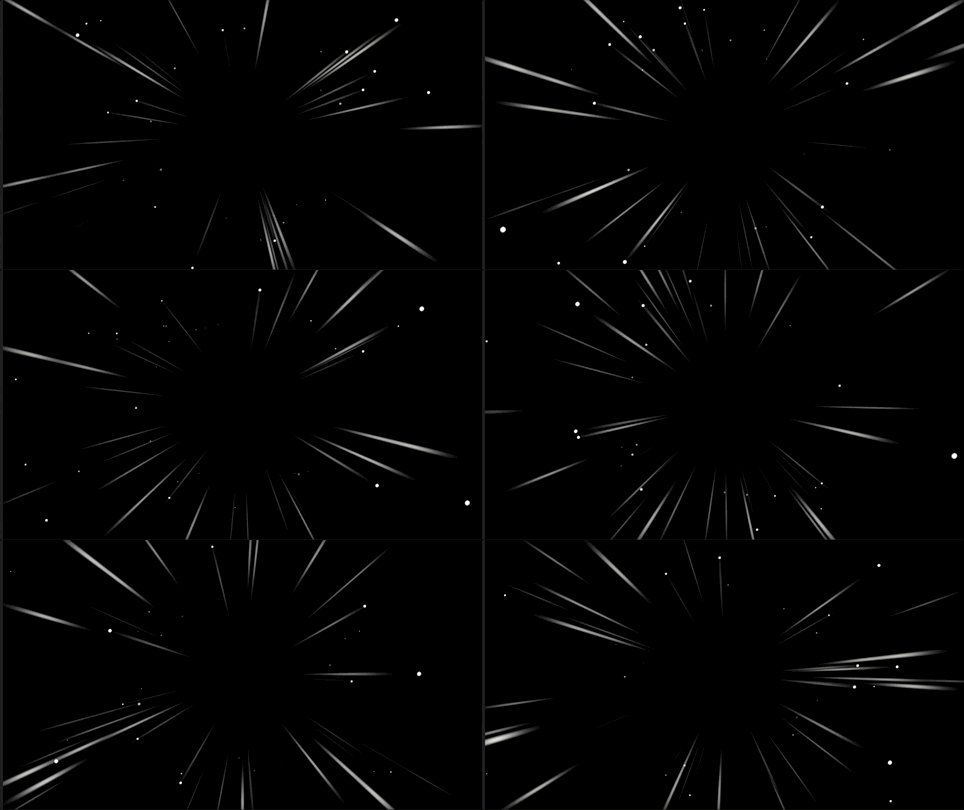


or adding a "nebula" in the center:
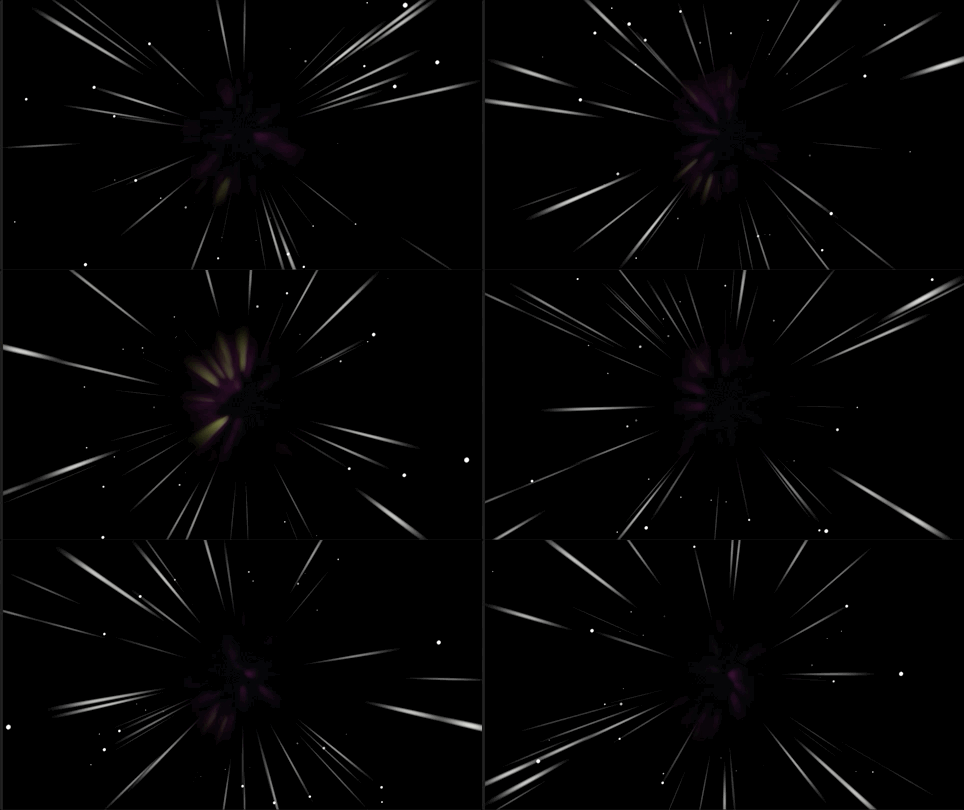


this can be done with an emitter.


[I used a 60fps project -- that affects the frame counts use later]


Start with a small circle. Apply an Emitter.


I used a Circle Shape; Arrangement Outline; Radius 316.


Check the 3D option.


Set the Emissions (lat/long/range) all to 0º.

Check Face Camera.


Birth Rate ~60. Speed 2250; Speed Randomness 1000.


Set Scale Randomness to your choosing.


Opacity Over Life should start at 0% and ramp quickly to 100%.


Clone the Emitter.

Apply Zoom Blur:

Look: Uniform

Amount: ~160

Apply *another* Zoom Blur:

Look: Uniform

Amount: ~80

Apply Threshold

Threshold 0

Smoothness 0

dial down Light Color and set:

Red: 2

Green: 2

Blue: 2


Clone the Clone Layer. Move it beneath the Emitter in the Layers List.


In the timeline, offset the first Clone Layer by +15 frames; offset the 2nd Clone Layer by + 30 frames

[if you use a different frame rate, set the 1st Clone Layer by 1/4 second and the second by 1/2second]


(When you apply the Zoom Blurs, you will notice that the emitted circles will align with the blur in the middle of the blur. Offsetting the timing will put the circle/stars at the end of the blur and the blur will look more like a light trail.)


For the "nebula" center:


Add a Clouds generator and place it underneath all the other layers.


Set Speed: 1.25

Method: Turbulent

1st Layer Strength 0.74

2nd Layer Strength 0

3rd Layer Strength 0.15

4th Layer - leave at 1


Color the Gradient to your taste, but here are the settings I used:

Opacity: 57%


First Color swatch:

Red: 0.02

Green: 0.04

Blue: 0.06

Location 28.75%


Last Color swatch:

Red: 0.7

Green: 0.75

Blue: 0.38

Location 100%


Add a "middle" color at Location ~80%; Color:

Red: 0.31

Green: 0.08

Blue: 0.26


Add a Zoom Blur to the Clouds generator.

Look: Variable

Amount: 32


Add a Circle Mask to Clouds at the center.

Radius: 340

Feather: -280


HTH

Feb 5, 2024 8:54 AM in response to seleemzid

[I'll be stating the parameter values I used for the gif above]


Starting with a circle; Radius ~40


Replicate

Check 3D and Face Camera

Shape Box

Arrangement Tile Fill

Size

width 1600

height 970

depth 0

Columns 8

Rows 6

Ranks 20

Tile Offset 17 (used to remove "alleys" of dark that show up when the arrangement is "square")

Origin Z-axis (not sure this is any different than "Back")


Cell Controls:

Scale 0

Scale End 140

Scale Randomness 5


Add a Camera: (Switch to 3D)

Angle of View: 120º

Far Plane: 12000


Camera Transform Position Z -400

Replicator Transform Position Z -380


Add Filter > Zoom Blur to Replicator

Set Amount to 0 [I'll come back to this - it will be keyframed]

Add Filter > OpenEXR Tone Map

Exposure 10

Knee Low -2.8

Knee High 3.7 [These are just to intensify the zoom blur... so anything you like]


To Replicator > Size > Depth - add a Link Behavior

To Source Object add the Replicator

Source Parameter > Filters - Zoom Blur - Amount


I wanted the Replicator to expand from a fixed source (more or less) from the Back -> Forward when changing the Replicator Depth, so

Add Link Behavior to Replicator > Properties > Anchor Point > Z

to the Source Object:

Add Replicator

Source Parameter > Object > Shape Parameters > Size > Depth

Set Scale to -0.5


This should get you in the neighborhood of what you want.


Feb 5, 2024 10:33 AM in response to fox_m

Very sorry!!!


I left out the part about keyframing the Zoom Blur...


Move the playhead to some point past the beginning -- as long as you want to "hold" the stars in place.

Then, to Zoom Blur > Amount, set a keyframe at 0.

Move the playhead to 1/2 project length and set a keyframe for the Amount at 105 (or just past where the last star has a trail.)


The Replicator Depth is linked to the Zoom Blur Amount, but you will notice that when the Zoom Blur amount is 105, the Replicator Depth is 10x that amount (that is normal behavior for this type of parameter "mis-match" for the types of things that go on "behind the scenes".)


If it seems I've missed anything else, just let me know... I'll try to track it down.

Star Wars Effect

Welcome to Apple Support Community
A forum where Apple customers help each other with their products. Get started with your Apple Account.